
Kid's Art Boards!
Granted school's out, so this post comes a little late for schoolwork, but you can display all of their summer crafts here AND be ready for the barrage of art that will come home in September.
And you know it will come.
Like it or not.
There'll be a LOT.
And you'll be expected to post it all
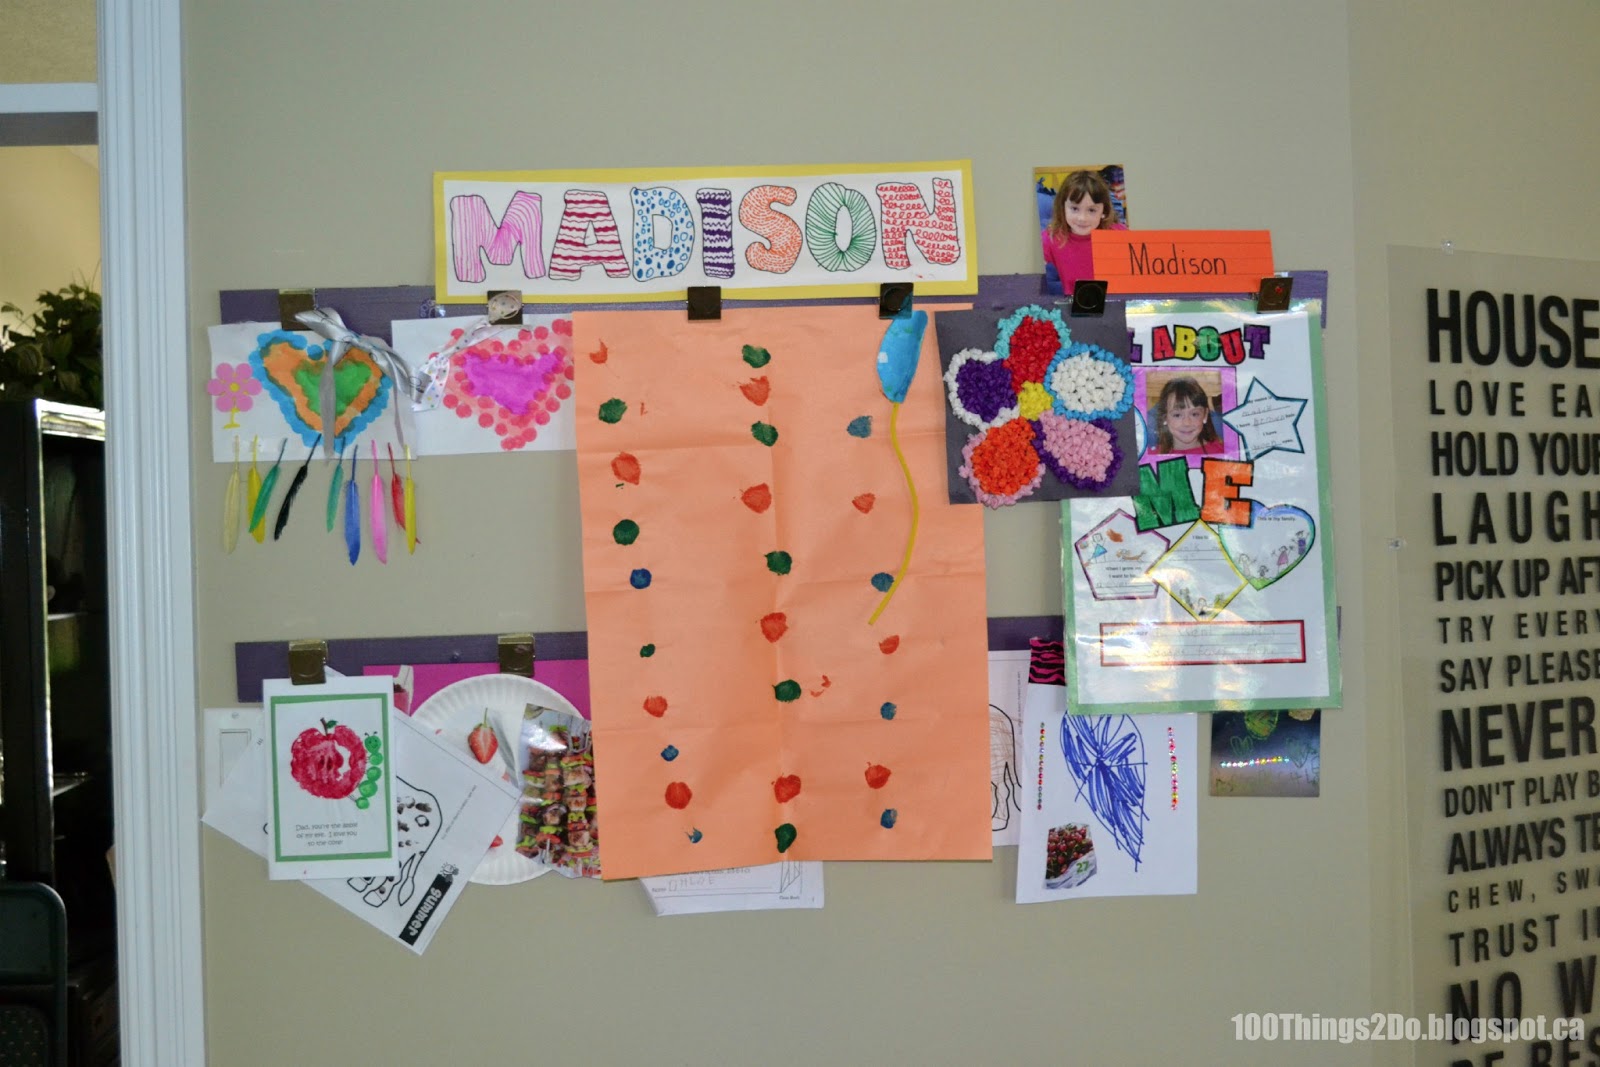
Take a 1/4" (depth) piece of wood and cut it to the length you want to fit your space.
Mine was a piece of scrap we had lying around in the garage and it was already cut to 2.5" high.
Give it a coat of paint. (Something leftover from another room)

Glue clothes pins, bulldog clips or in this case square magnetic clips to the front - spacing apart at least 8.5" to account for standard paper size.
 |
| Staples.ca |

Voila!
Not bad for $12 eh?

Each piece gets one month of glory and then it's time to move on so the next work of art can be displayed.
If you need more inspiration, check these out:
Ikea:
 |
| Ikea curtain wires with clips |
 | |
| alittleofthis---alittleofthat.blogspot.ca |
 |
| iHeartOrganizing.blogspot.ca |
No comments:
Post a Comment
Thank you for taking the time to comment!
I'm always open for constructive comments and suggestions...