They told me that patching and painting the trim - even the same colour - really made a huge impact in a room. At the time I thought they were just trying to up-sell me on something I didn't really need, so I didn't get it done.
Little did I know how right they were.
Step 3 of my family room makeover was to get all of my trim painted and looking fresh and crisp.
I was nervous about doing it, but given that the built-ins had been done, the base below it looked disjointed somehow - so I had no choice.
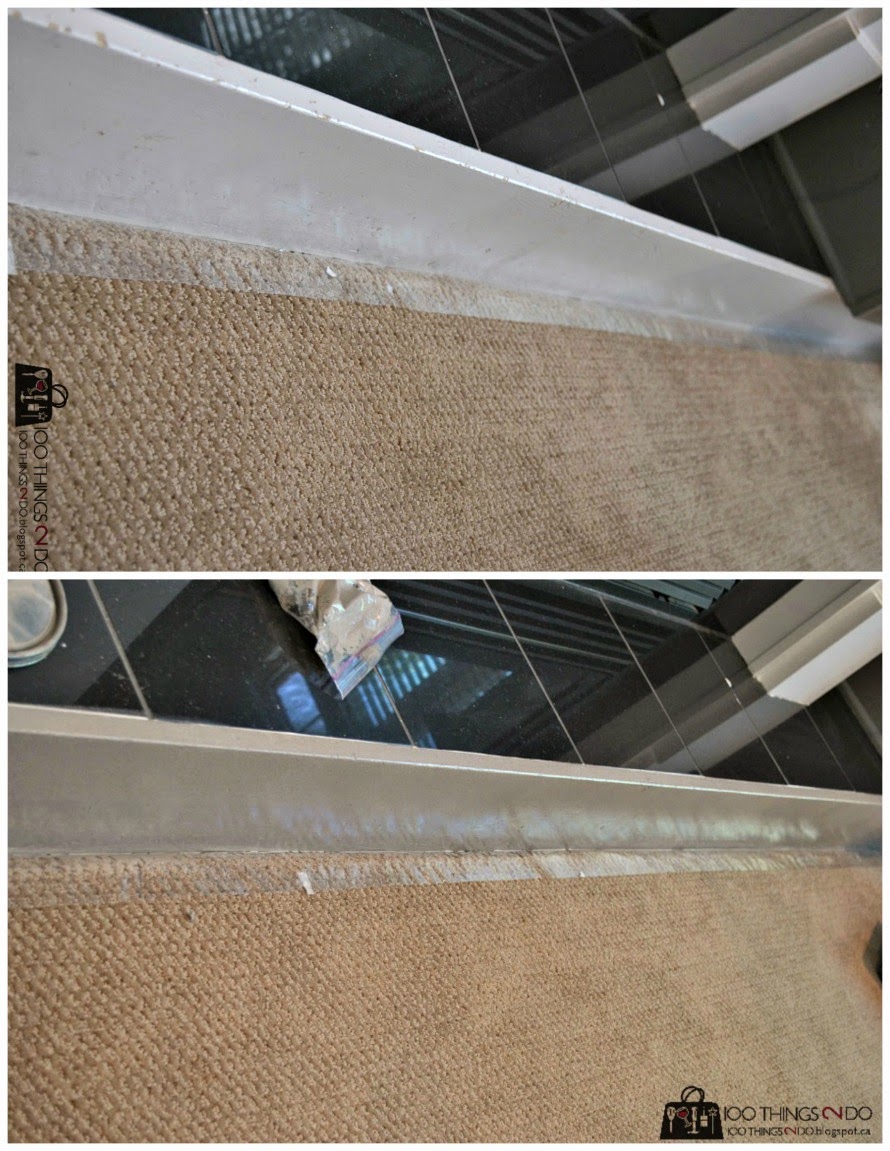
I found a tutorial on Apartment Therapy showing how to paint baseboards on carpet - but since I don't have permission to use their photos, I thought I'd take my own and share it (again) here:
Take some packing tape (I put black marker on it just so you could see it) and run it along the carpet and about 1/4" up the baseboard.
Take your putty knife and tuck the top 1/4" underneath the baseboards and lightly pat down the rest onto the carpet.
Do this all the way along making sure that the tape is tucked under - any exposed carpet is likely to end up a different shade.
Then paint away!
This is the baseboard beneath the built-ins and along the front of my fireplace so it went Metropolis grey.
The baseboards in the entire room needed a clean up, so I re-did all of them in white along with the windows.
The tape saved the carpet and I painted slightly up the wall so that when I repaint the walls I'll be able to have a nice clean edge.
The one thing I will say is that once the tape is down you have to commit to painting the baseboards.
It can stay on the carpet for a day or two, but anything more and you'll run the risk of the carpet becoming gummy with the adhesive.
I don't know if these photos do it justice, but it really is a dramatic improvement.
Painters - I stand corrected.
Step 3 done!
Have a great one!

Linked to:
 |
| Between Naps on the Porch |


No comments:
Post a Comment
Thank you for taking the time to comment!
I'm always open for constructive comments and suggestions...