I have a guest contributor to the blog today!
Emily is the owner of Emily Michelle Interior Creations and she is a true talent at refinishing furniture.
I've seen her work and I can honestly say I'm a fan - and I think you will be too once you see this!
___________________________
Well, I guess I should start by introducing myself!
This is my first time as a guest on this blog and I'd like to thank Shelly for the opportunity to share some of my DIY projects and makeovers!
My name is Emily and I am the owner of Emily Michelle Interior Creations and the proud momma of two silly boys, Sawyer (3) and Kai (1).
I decided to start with something simple, fresh and inexpensive...
I have never been one to spend a ton on home decor or anything really. To be honest, I've never really been able to. Being a young mom has made me grow up quickly and I had no other choice but to figure out what I was going to do with my life. I am thankful for all the secondhand stores that have supplied all the 'goodies' I've needed to start my small business.
Goodwill
Value Village
Bibles for Missions
Salvation Army
Garage sales and believe it or not... dumpsters!
Value Village
Bibles for Missions
Salvation Army
Garage sales and believe it or not... dumpsters!
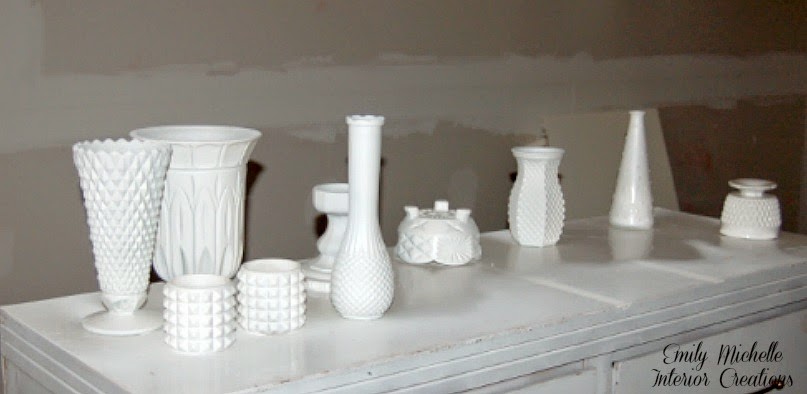
Many of these jars were recycled from organic juice, pickles (I can honestly eat a jar a week...eek), sauces, etc... others were purchased from the secondhand stores I mentioned above.
The largest was $10.00 (I just couldn't resist!!) but on average they range from $0.50 - 4.99!
Not bad eh?!
Now, I went a little crazy... but let's be honest, you can't go wrong with extra decor. You could use them for just about anything; flowers, bathroom organizers for Q-tips, makeup, rings/jewellery, keys at your front door, even spare change. You name it!
Other items purchased for this project
- Spray Paint (White, Gold & Silver)
Note: You can purchase these colours at Michael's with their weekly 40% OFF coupon or purchase from any home improvement store. I had extra Kilz primer and since I wanted WHITE I just used what I had!
- Painter's tape Note: Any home improvement store
- Rubbing alcohol Note: Dollarstore
- Something to apply rubbing alcohol
- Wax (Optional)
Step 1:
I like to get myself organized by getting all my needed material ready and since we are spray painting you will want to be in a ventilated space or outside.
I like to get myself organized by getting all my needed material ready and since we are spray painting you will want to be in a ventilated space or outside.
Step 2:
Clean jars in dishwasher or by hand. Once clean and dry, rub them down with the rubbing alcohol and let dry.
Clean jars in dishwasher or by hand. Once clean and dry, rub them down with the rubbing alcohol and let dry.
Step 3:
If you are going for the striped look you will now take the painter's tape and mark off where you do NOT want any paint going. If you plan on spraying the entire jar skip this step.
Step 4:
Spray away! Remember to shake the can and follow the instructions. I usually do TWO light coats with the appropriate recommended drying time in between.
Step 5:
Once you are done your last coat I would let them dry overnight just to be safe!
Once you are done your last coat I would let them dry overnight just to be safe!
Step 6:
Carefully remove any tape and fill them with goodies!
Oh - and if you are worried about these items chipping you can put a coat of wax on them - I used Annie Sloan Clear Wax.
Ta-daaa!
Carefully remove any tape and fill them with goodies!
Oh - and if you are worried about these items chipping you can put a coat of wax on them - I used Annie Sloan Clear Wax.
Ta-daaa!
I hope you enjoyed this quick DIY project!
Remember, don't be afraid to use bright colours and most importantly; HAVE FUN with it!
For more great ideas, and to see more of Emily's work - like her Facebook page here!
Have a great one!


No comments:
Post a Comment
Thank you for taking the time to comment!
I'm always open for constructive comments and suggestions...